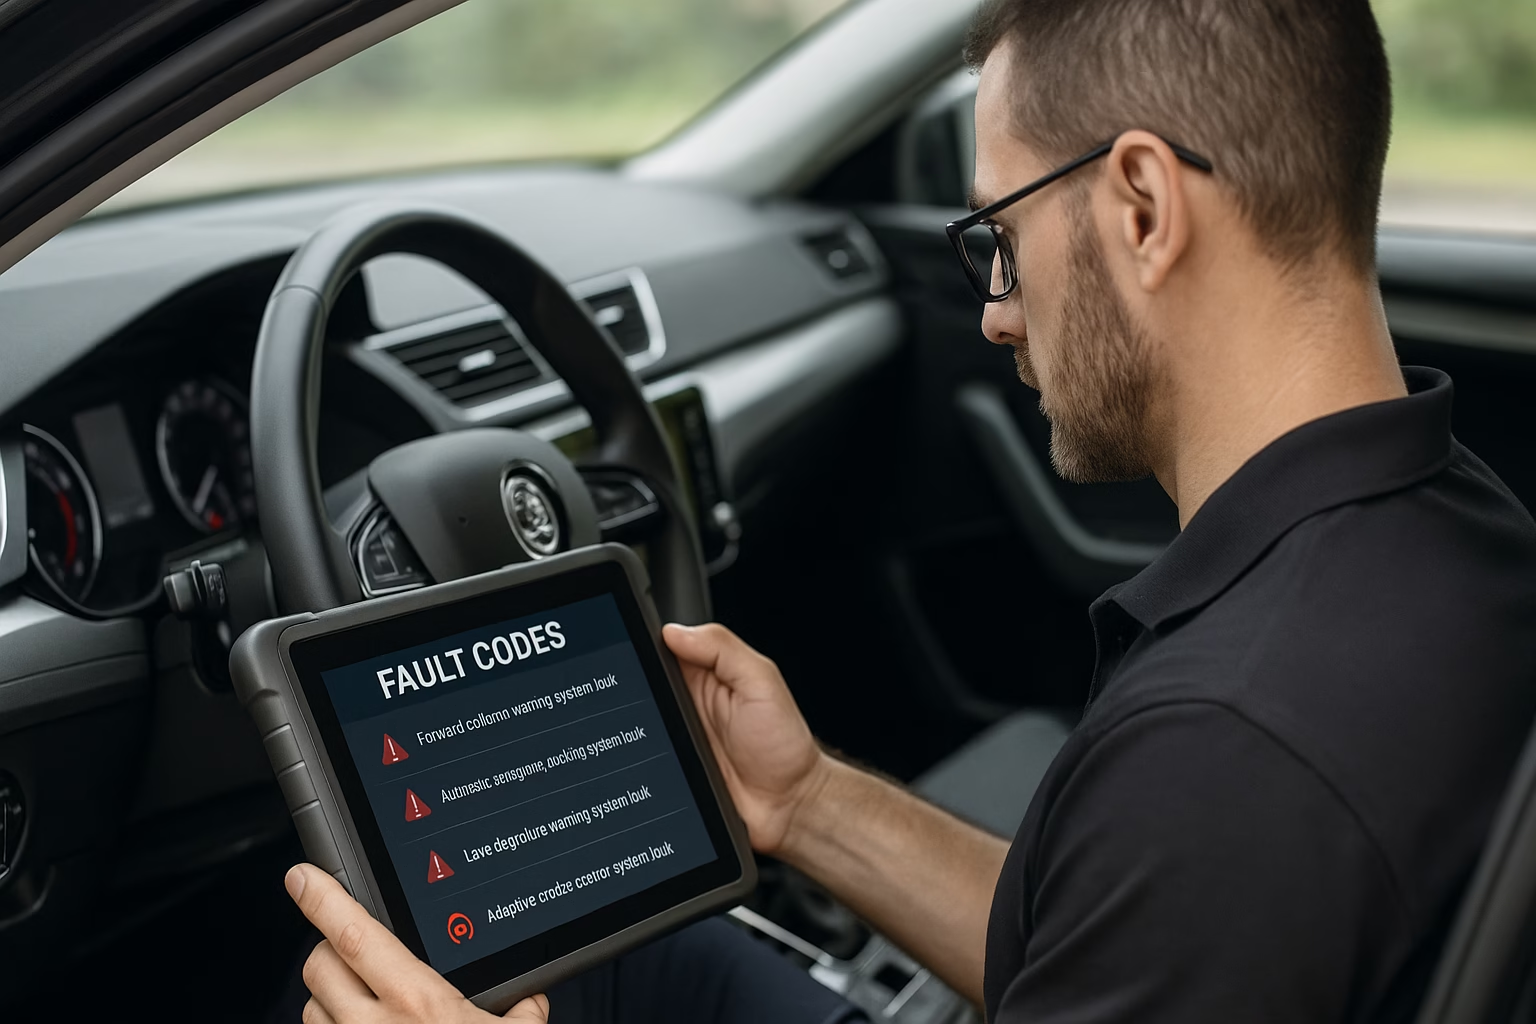
Advanced driver assistance systems generate a growing array of diagnostic trouble codes when something goes wrong. Unlike powertrain codes, ADAS faults may relate to cameras, radar, lidar, ultrasonic sensors, steering modules or the networks that connect them. Manufacturers use different numbering schemes and descriptions, so a generic scan tool might simply say “camera misalignment” or “radar signal invalid.” Understanding what these codes mean and how to troubleshoot them saves time and ensures the vehicle stays safe to drive.
Most ADAS fault codes fall into a few broad categories: sensor misalignment, communication errors, obstruction or contamination, calibration not completed and internal faults. When reading the fault memory, note whether each code is current or stored and whether it returns immediately after clearing; this helps determine if the fault is intermittent or persistent.
Camera misalignment codes are among the most frequent. Forward-facing cameras rely on precise alignment with the vehicle’s centreline and pitch angle. Windscreen replacement, front-end collisions or worn suspension can alter this geometry. If a code indicates the camera field of view is out of range, inspect the mounting bracket for damage or looseness. Verify the windscreen glass matches the OEM specification—aftermarket screens with different optical properties can distort the image. Measure ride height and check for suspension sag that might tilt the camera. Once any mechanical issues are corrected, perform the static or dynamic calibration procedure using the manufacturer’s targets and alignment specifications.
Radar misalignment codes often arise after bumper repairs or minor impacts. Radars sit behind bumper covers or emblems, so a gentle nudge can knock them off axis without leaving obvious external damage. Codes may state that horizontal or vertical aim is out of range or that the sensor sees an offset reflection. Remove the bumper cover and verify that mounting points and brackets are straight. Replace any single-use clips and ensure the radome area of the bumper is free of metallic paint, chrome overlays or aftermarket bull bars that can block signals. Use a digital angle gauge or OEM jig to set the correct yaw and pitch angles before performing calibration.
Communication errors, such as CAN bus or FlexRay fault codes, can be tricky. A forward-looking camera may set a code for lost communication with the steering angle sensor or yaw rate module. This doesn’t necessarily mean the sensors are faulty; a broken wire, corroded connector or poor ground can disrupt messages. Inspect wiring harnesses and connectors between modules. Look for chafed insulation, water ingress or aftermarket accessory splices. Use a multimeter to check voltage and continuity and wiggle connectors while monitoring the scan tool to see if the fault triggers. Repair damaged wiring and ensure connectors are properly seated with dielectric grease if recommended.
Obstruction or contamination codes are self-explanatory but often overlooked. Dirt, snow, ice or bug splatter on a camera lens can set a malfunction code and disable features. Radar sensors can be blocked by leaves, bumper stickers or decorative accessories. Park assist ultrasonics are sensitive to thick mud or aftermarket tow bars. Some body shops inadvertently paint over radar radomes with metallic paint, severely degrading signal transmission. When these codes appear, clean the sensor surfaces and remove non-OEM accessories. Ensure replacement bumper covers or grilles are designed for ADAS—some aftermarket parts lack the proper mouldings.
Internal sensor faults indicate that the device itself has failed. A code may state “radar internal malfunction,” “camera EEPROM error” or “lidar module temperature sensor faulty.” These usually require replacement of the sensor and sometimes an accompanying control module. Always verify the part number and software level; many components are superseded by improved versions. After replacement, complete any required coding or pairing to the vehicle followed by calibration. Some modules must be programmed using an OEM online service portal to initialise them correctly.
Calibration-not-completed codes can appear if the battery is disconnected or a module loses its reference memory. The system sets a fault until a static or dynamic calibration is successfully executed. Follow the service manual step by step, ensuring targets are placed at precise distances and heights. During dynamic calibration, drive the vehicle at the specified speed on well-marked roads until the scan tool indicates completion. If the process aborts, check for other underlying issues such as incorrect tyre sizes or wheel alignment problems that prevent the system from learning.
When faced with an ADAS DTC, adopt a systematic troubleshooting process. Read all codes with a capable scan tool and save the report. Look up the fault definitions and diagnostic steps in the manufacturer’s service information—generic code readers often lack these details. Perform a visual inspection of mounting brackets, wiring and sensor surfaces. Address physical damage or contamination first, then clear codes and see which ones return. Perform calibrations where required and re-verify by road testing the vehicle. Avoid simply clearing codes without resolution; many systems will disable functions until the root cause is fixed.
Remember that each brand has its own quirks. Toyota’s pre-collision system might set C1AA9 for “front radar beam axis not adjusted,” while a Volkswagen might log B204A00 for “camera misaligned.” Hyundai uses separate codes for camera pitch and yaw misalignment. Always refer to OEM documentation to interpret these codes correctly. Some manufacturers release technical service bulletins describing false codes caused by software bugs; updating the control unit may cure the issue without mechanical work.
Finally, document your work thoroughly. Note the codes retrieved, actions taken, parts replaced, calibrations performed and verification results. Provide this information to the customer and the insurer if a claim is involved. Troubleshooting ADAS faults is an interplay of mechanical repair, electrical diagnostics and software calibration. With patience and a methodical approach, technicians can resolve common fault codes and restore advanced safety systems to full function.

Hiran Alwis is an automotive lecturer and ADAS specialist with over 15 years of experience in diagnostics, advanced safety systems, and technical training. He founded ADAS Project to help everyday drivers and workshop technicians understand and safely use advanced driver assistance systems.
