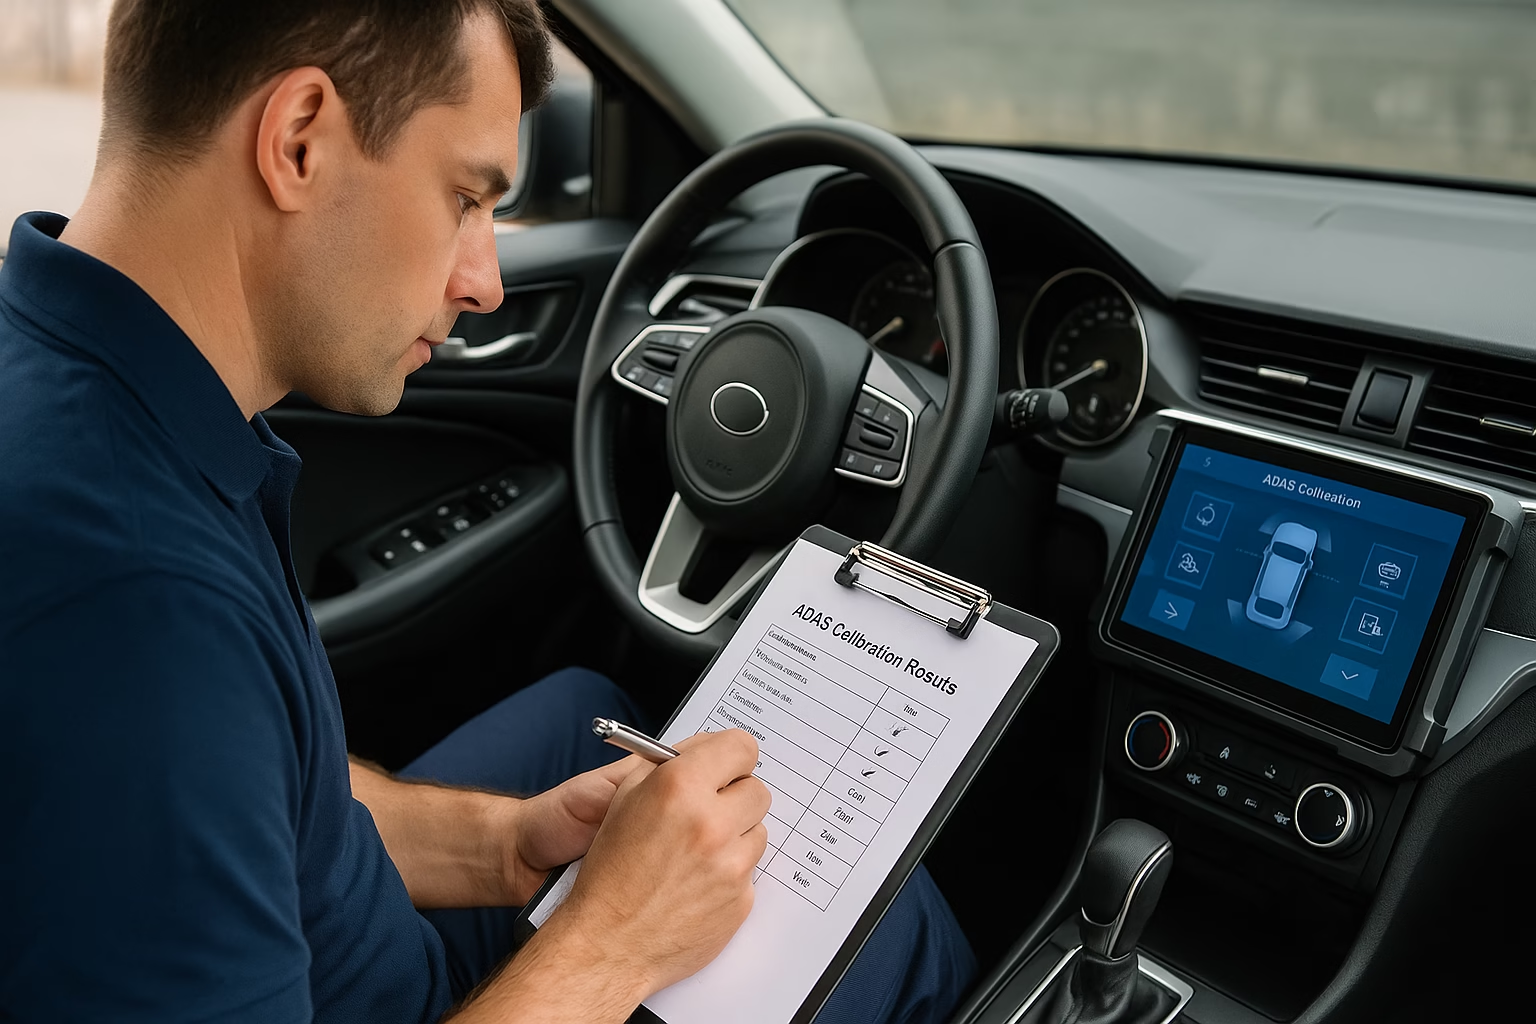
Advanced driver assistance systems (ADAS) rely on precise sensor alignment to perform safely, and insurers increasingly insist on detailed documentation whenever cameras, radars or lidar units are calibrated. Careful record‑keeping helps substantiate that the work was performed to OEM specifications, supports warranty or insurance claims and protects the technician from liability. In a collision claim or a post‑repair dispute, good paperwork can be the difference between a claim being paid quickly or a long battle over whether the vehicle was truly restored to pre‑incident condition.
Start with a thorough pre‑calibration assessment. Record the vehicle’s VIN, make, model, year and odometer reading. Note any factory options or trim packages that influence the ADAS package; for example, a mid‑level model might have a forward radar and camera while the premium edition adds blind‑spot sensors. Document the reason for calibration—a windshield replacement, bumper repair, module replacement or diagnostic trouble code. Photograph the vehicle from multiple angles to capture bumper condition, emblem alignment, windscreen glass markings and roof mounts. If diagnostic trouble codes are present, document them with screen captures or printed scan reports.
Environmental conditions are critical to accurate calibration, so record them as well. Static calibrations require a level floor with precise distances to targets; note the floor levelness and orientation, the distance from the front axle to the target board and the height of the camera from the floor. Dynamic calibrations depend on clear road markings and consistent speeds, so log weather, traffic conditions and route details. If the OEM specifies a minimum temperature or absence of direct sunlight, include these details. Some technicians use inclinometer apps to document the slope of the workshop floor or the angle of a wheel alignment ramp.
Your documentation should include all equipment used. List the scan tool make, model and software version, along with any OEM calibration accessories like target boards, reflective panels, radar curtains or specialised fixtures. If you updated the vehicle’s ECU software as part of the procedure, note the update number and confirm that the calibration was performed on the most current revision. When using aftermarket calibration systems, verify that they are approved for the specific vehicle and record their calibration certificate or serial number.
During the calibration itself, capture intermediate and final readings. For static camera calibrations, record the measured distances from targets to wheel centrelines before adjustment and the final values after completion. For radar calibrations, document the tilt and yaw angles measured with digital protractors or lasers. For dynamic calibrations, note the starting and ending times, vehicle speed, number of kilometres driven and any prompts displayed on the diagnostic tool during the drive. If the process generates a calibration certificate or pass/fail report, save it digitally and attach a printed copy to the job folder.
Once calibration is complete, perform a verification drive or system check and record the results. Scan for diagnostic trouble codes to ensure no new faults are present. Review the instrument cluster to confirm there are no warning lights or messages. Test ADAS functions such as adaptive cruise control, lane‑keeping assist and automatic emergency braking in a controlled environment, following OEM guidelines. Document any anomalies and their resolution or note that all systems operated as expected. If an insurer asks why a second test drive was necessary, the documentation will demonstrate due diligence and provide evidence that the system functions properly.
Use structured forms or digital templates to ensure nothing is missed. Many OEMs and industry organisations, such as I‑CAR or the Motor Industry Research Association, provide sample checklists for ADAS calibration. These can be customised for your shop’s workflow and insurer requirements. A good form prompts the technician to complete each step, sign and date the record, and include their technician ID or certification number. A second signature line for a supervisor or quality control technician adds an extra layer of accountability and may be required by insurers for reimbursement.
Store records securely and in an organised manner. Electronic job management systems allow photographs, scans and calibration reports to be attached to the work order and retrieved later with a VIN or customer name. Back up digital records and retain them for the period required by local law or your insurer’s policy—often seven years or the life of the vehicle ownership, whichever is longer. When sharing information with insurers, send only the necessary documents through secure channels to protect customer data and comply with privacy regulations.
Clear communication with customers and insurers rounds out best practices. Explain to the vehicle owner why calibration and documentation are essential; this helps manage expectations when a claim takes time to process. Provide insurers with an organised packet containing the pre‑calibration assessment, environmental notes, equipment logs, calibration results and verification test. By demonstrating that every step was followed and recorded, you build trust, support claim approval and ensure that advanced safety features operate as intended.
In an industry where technology evolves rapidly and liability stakes are high, meticulous documentation isn’t just bureaucratic red tape—it’s an indispensable part of professional ADAS servicing. Taking the time to capture the vehicle state, environmental conditions, equipment details, measured values, verification results and sign‑off will help insurers adjudicate claims fairly and protect your reputation as a technician. As insurers adapt to the realities of autonomous and semi‑autonomous vehicles, thorough calibration records will become even more important.

Hiran Alwis is an automotive lecturer and ADAS specialist with over 15 years of experience in diagnostics, advanced safety systems, and technical training. He founded ADAS Project to help everyday drivers and workshop technicians understand and safely use advanced driver assistance systems.
