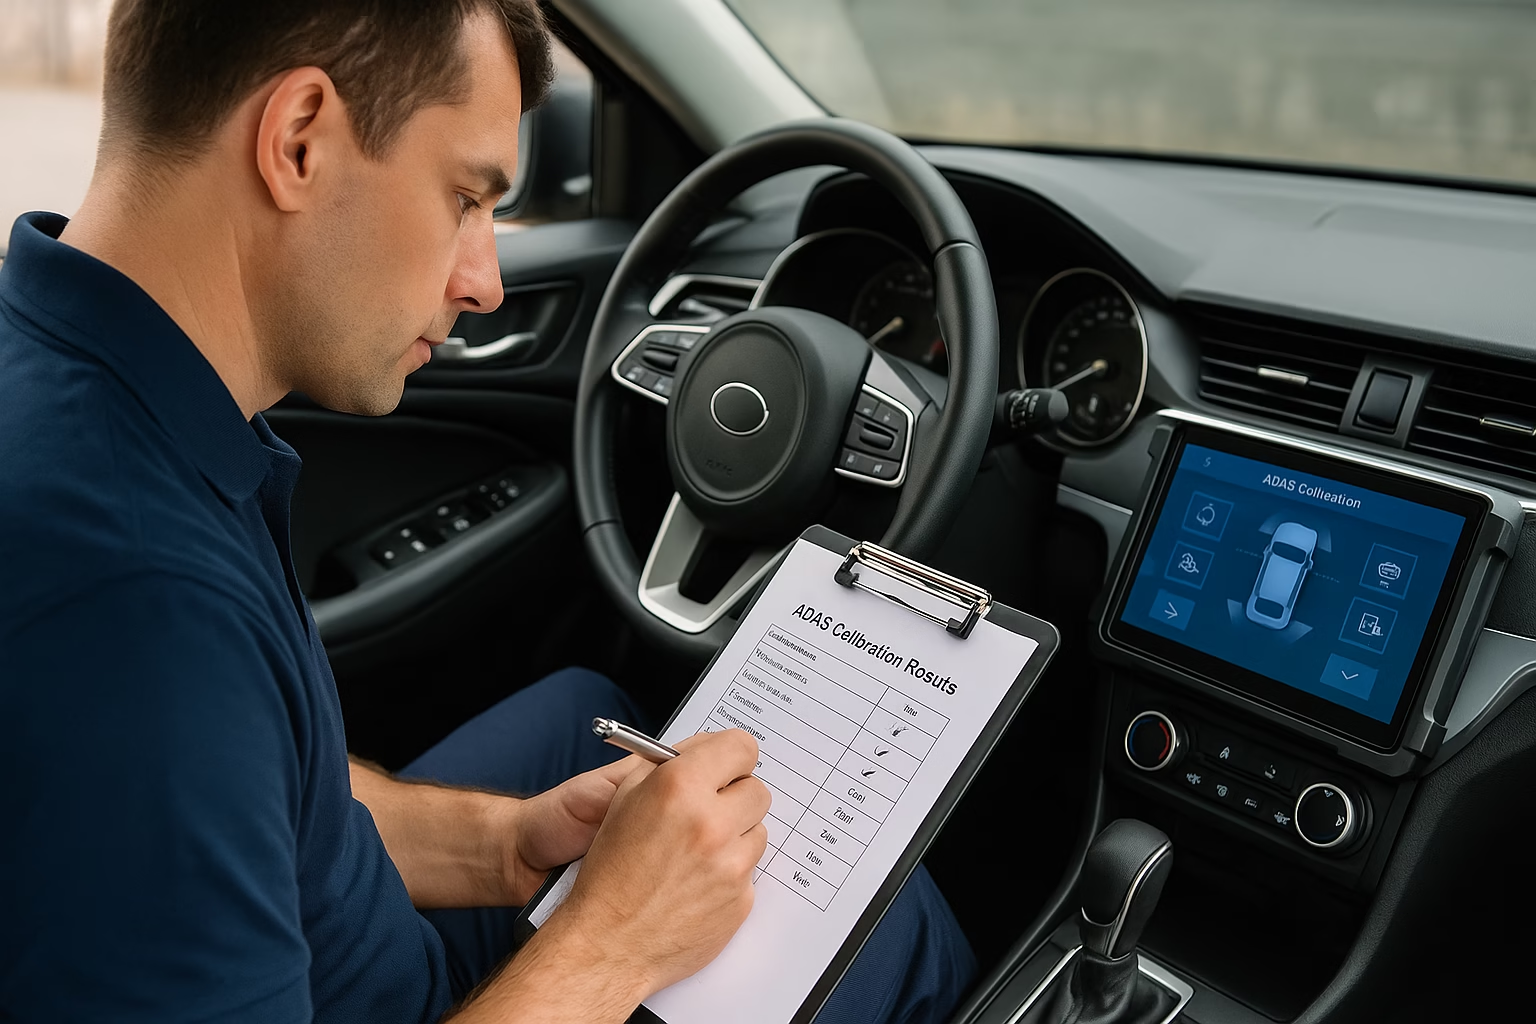
Modern ADAS calibration is as much about paperwork as it is about aligning cameras and radar units. After a calibration, the technician’s work doesn’t end when the vehicle leaves the bay; it extends into documenting what was done, why it was done and how it was verified. This documentation isn’t just bureaucratic overhead. It is critical proof of due diligence for insurers, repairers and vehicle owners, and it protects workshops from liability if a system malfunctions later on.
Why documentation matters
Every calibration begins with a pre‑scan and ends with a post‑scan. Without accurate records, it’s impossible to prove that a sensor was out of specification before the repair or that it was within specification when it left your workshop. Documentation demonstrates that you followed the manufacturer’s procedures, met alignment specifications and used the correct equipment. If a collision occurs later, insurers will review these records to determine whether the ADAS system was calibrated properly. Incomplete or missing paperwork can lead to disputes, claim denials or, worse, liability claims against your shop.
Regulators and manufacturers increasingly require proof that calibrations were performed to OEM specifications. The Activate Group warns that sensors knocked out of position during repairs can cause ADAS features to stop working or intervene unnecessarily, creating safety risks . Detailed documentation helps show that you corrected these issues rather than causing them. Likewise, a report of the calibration will satisfy insurers that a windshield replacement or body repair didn’t leave a camera misaligned, as warnings from Safelite and other glass specialists attest.
Capture the entire calibration process
Thorough documentation starts before any work is done. Here are the key elements insurers look for:
- Pre‑repair scan and inspection – Record all diagnostic trouble codes (DTCs) and note any ADAS warning lights. Include photos of the vehicle’s condition, windshield and sensor mounting areas. This baseline proves that faults existed before you started.
- Vehicle information – Document the make, model, year, VIN, mileage and equipped ADAS features. Different systems use different calibration targets and procedures; insurers need to see that you used the correct method for that vehicle.
- Repair details – Describe the repair that triggered the calibration. Was it a windshield replacement, a suspension alignment or a bumper repaint? Sources remind us that calibrations are required not just after collisions but also after routine changes like tyre or suspension modifications . Explaining the context helps insurers understand why a calibration was necessary.
- Calibration environment – Static calibrations require level floors, proper lighting and specific distances between the vehicle and targets . Dynamic calibrations require road tests at set speeds and well‑marked lanes . Document the conditions (e.g., target placement measurements, ambient temperature, road type and speed) to show that you met these requirements.
- Equipment and software used – List the calibration tools, targets and scan software, including serial numbers and software versions. Insurers want to know that you used manufacturer‑approved gear and up‑to‑date programs.
- Technician credentials – Note who performed the work and their certification. With ADAS training programmes growing, insurers want assurance that a qualified technician handled the calibration.
- Alignment and measurements – Record pre‑ and post‑alignment angles, steering angle sensor values and any adjustments made. As Modern Tire Dealer explains, misaligned wheels can misdirect radar beams and camera sensors, so an alignment is the first step in almost every calibration .
- Pre‑scan and post‑scan DTC reports – Attach printouts or digital files of scan tool reports from before and after the calibration. These demonstrate that all codes were cleared and no new faults were introduced.
- Test drive results – For dynamic calibrations, note the route, weather and speed. Record when the system confirmed successful calibration, and note any warnings or driver‑assist interventions during the test.
- Photographic evidence – Include photos of target set‑ups, the vehicle on the alignment rack and the final dashboard with no warning lights. Photographs provide visual proof that you followed procedures.
Presenting the documentation
Once you’ve collected the data, organise it into a clear report. Many calibration tools produce a printable report automatically, but you should supplement this with your own notes. At minimum, provide the insurer and vehicle owner with:
- A summary page detailing the vehicle information, repair performed and reason for calibration.
- Pre‑ and post‑scan reports attached as PDF or images.
- Alignment and calibration measurements, including target distances, steering angle values and final sensor status.
- The calibration method used (static, dynamic or combined) with notes about the environment and test drive conditions.
- Certification credentials for the technician and equipment.
- A sign‑off section where the technician and quality controller confirm that all procedures were completed.
Save all documentation in your shop management system and keep digital backups. Many insurers require records to be kept for several years in case of future claims. Digital records are easier to retrieve and share than paper files.
Build trust and reduce liability
Comprehensive documentation may seem like extra work, but it protects your business. If a customer’s lane‑keeping or automatic braking system fails after a repair, your records will show that the system left your facility working correctly. Insurers are more likely to approve claims quickly when they see thorough calibration reports, reducing administrative back‑and‑forth. And customers gain confidence knowing that you’ve followed best practices.
As ADAS technology continues to evolve, expect documentation standards to tighten. Workshops that invest in good record‑keeping habits now will be better prepared for new regulations and insurer requirements. Ultimately, clear documentation is about accountability: it demonstrates that you respected the safety systems designed to protect drivers and that you delivered work that meets the highest standards.

Hiran Alwis is an automotive lecturer and ADAS specialist with over 15 years of experience in diagnostics, advanced safety systems, and technical training. He founded ADAS Project to help everyday drivers and workshop technicians understand and safely use advanced driver assistance systems.
