
After completing repairs on a vehicle with advanced driver assistance systems (ADAS), your job isn’t done until you’ve checked that every electronic system is healthy. A post-repair scan and reset confirms that sensors, cameras and controllers are working properly and that no diagnostic trouble codes (DTCs) remain.
Here’s a simple post-repair scan and reset checklist:
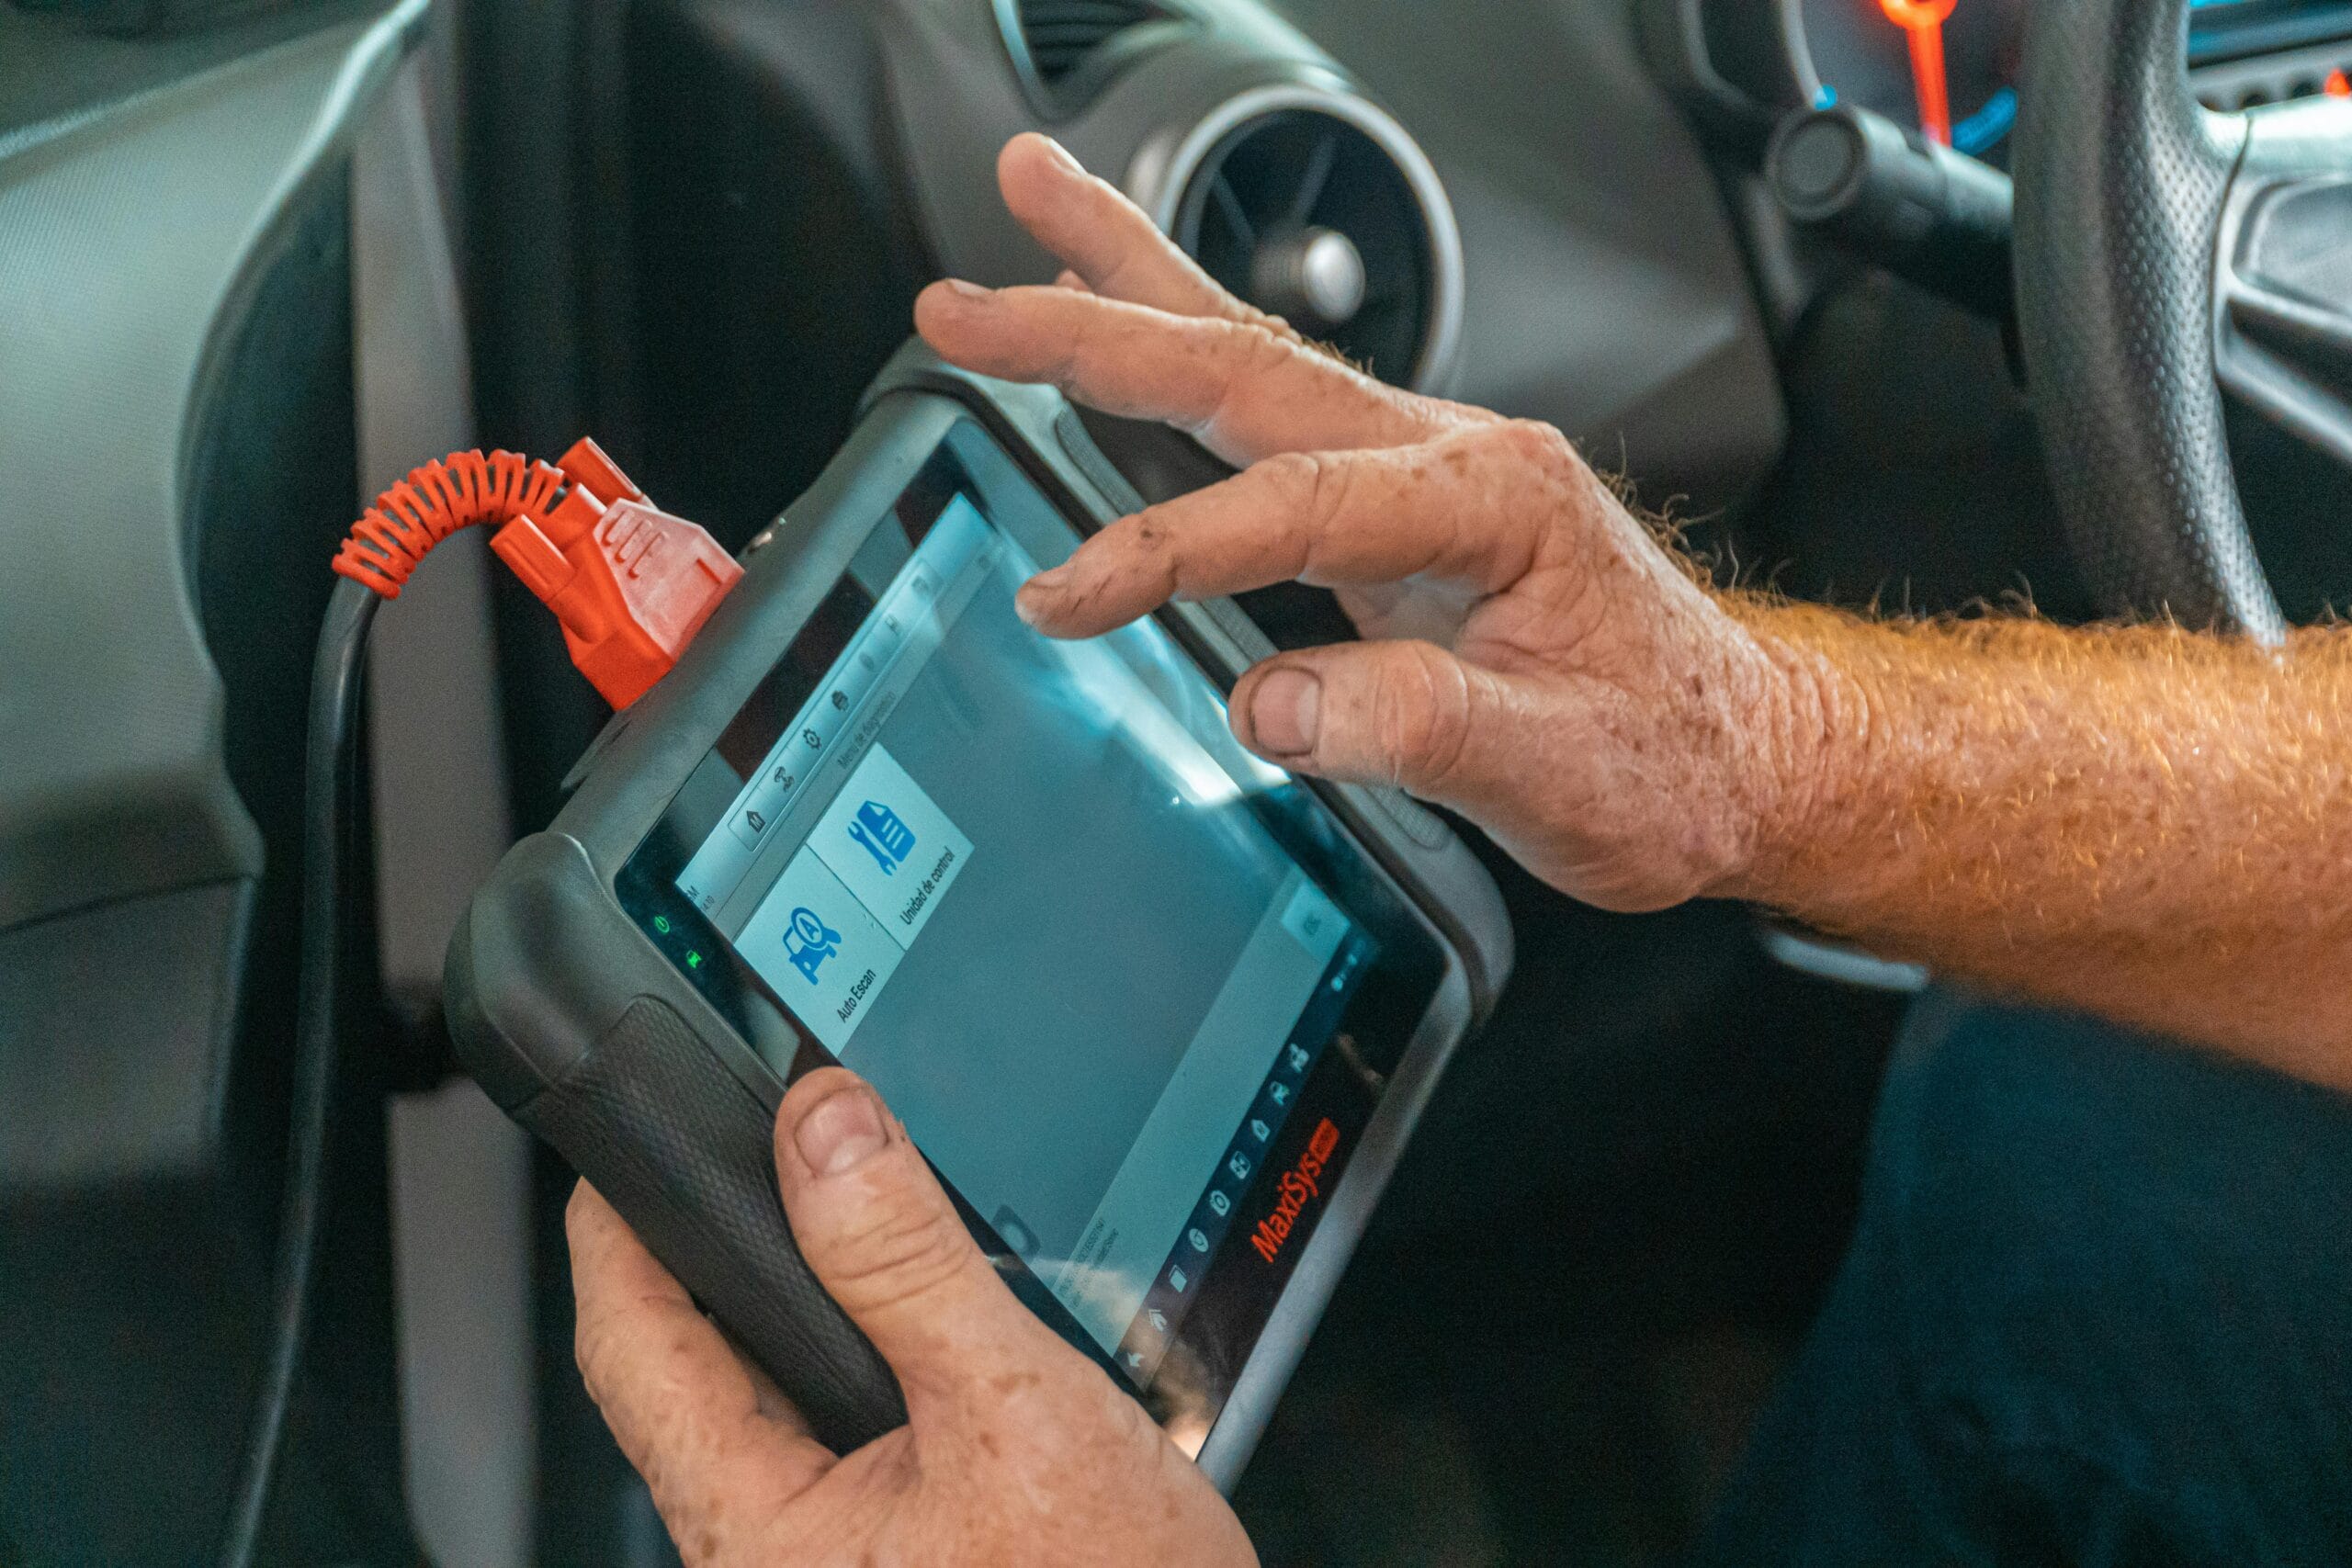
- Use a diagnostic scan tool to run a full post-repair scan of all modules. Look for new or existing DTCs and make sure your tool is up to date.
- Compare results with your pre-repair scan to see what codes were cleared and whether any new issues have appeared.
- Inspect all sensors, cameras, brackets, wiring and connectors to ensure everything is installed securely and free from damage or dirt.
- Use your scan tool to reset or initialise ADAS modules and related systems according to the manufacturer’s procedures.
- Perform any required calibrations (static, dynamic or both) based on the type of sensor replaced or repaired. Follow the AAAA ADAS Industry Code of Conduct and the vehicle maker’s service information.
- Carry out a road test to verify that adaptive cruise control, lane keeping, forward collision warning and other functions operate as expected. Watch for dashboard alerts.
- Document everything: the DTCs found and cleared, calibration procedures performed and the results of the road test. Good records protect you and provide transparency.
- Review the scan and calibration report with the customer and answer any questions they may have. Provide a copy for their records.
Completing a post-repair scan and reset ensures that your repairs haven’t introduced new faults and that the vehicle leaves your workshop ready for the road. Following a consistent checklist helps maintain safety and reduces liability. To learn more about ADAS calibration best practices, visit the Calibration Club for more guides.

Hiran Alwis is an automotive lecturer and ADAS specialist with over 15 years of experience in diagnostics, advanced safety systems, and technical training. He founded ADAS Project to help everyday drivers and workshop technicians understand and safely use advanced driver assistance systems.