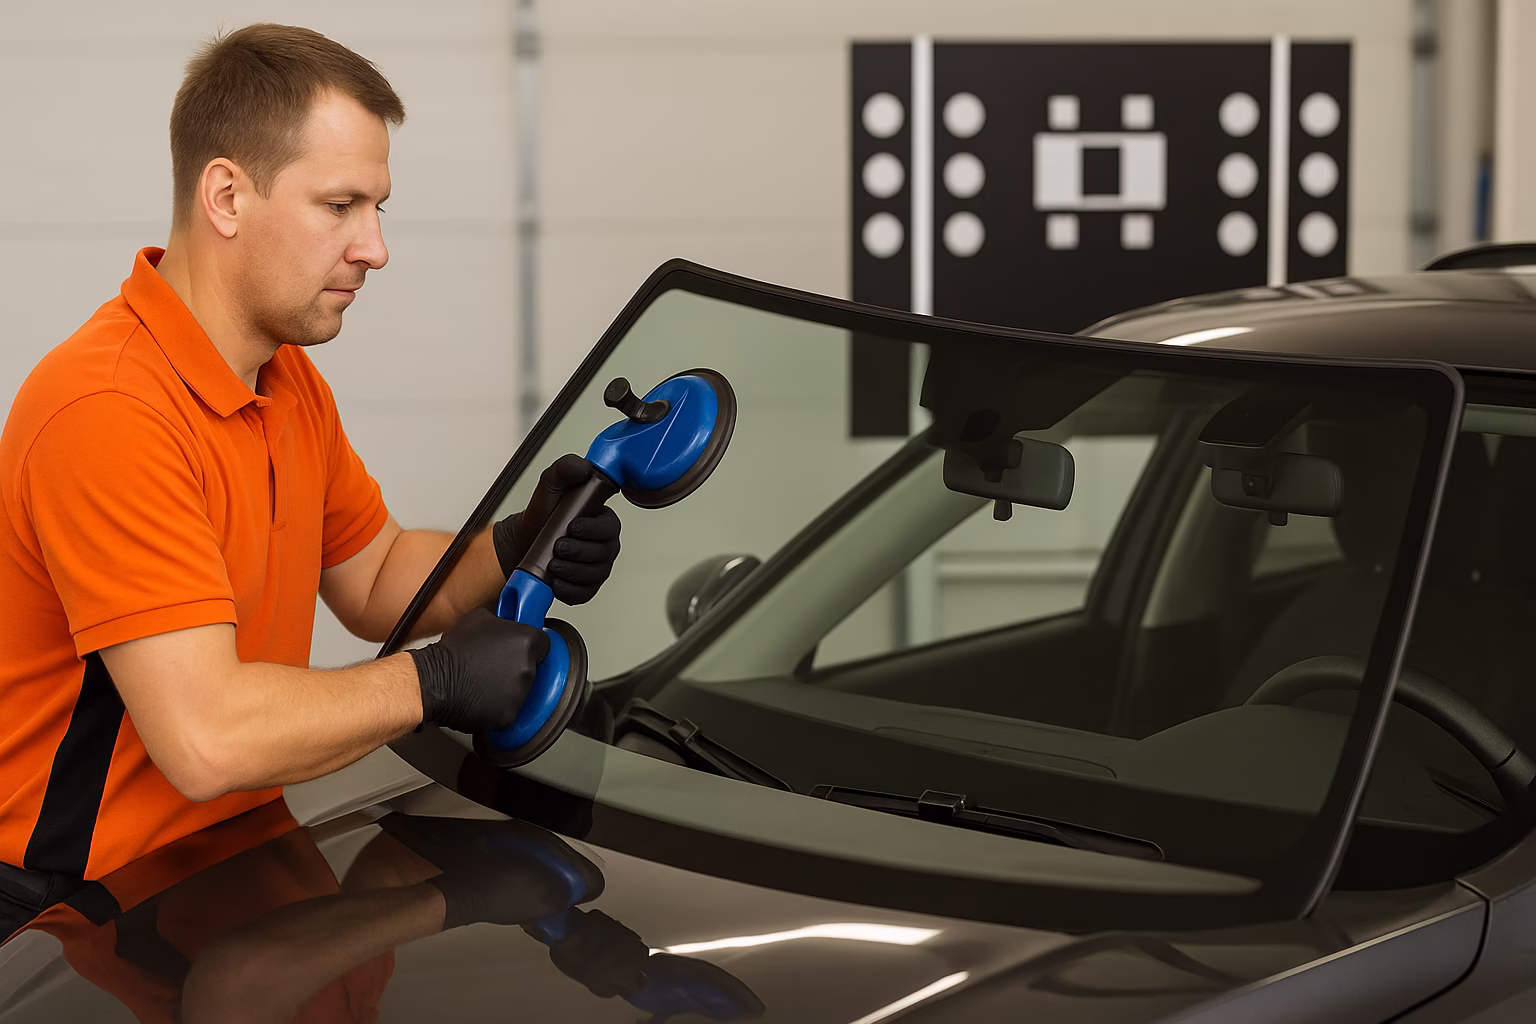
Replacing a windscreen on a modern vehicle is no longer a simple glass swap. Many advanced driver assistance systems mount forward-facing cameras and sensors directly to the windscreen. These cameras power features such as lane departure warning, automatic emergency braking and adaptive cruise control. Safelite notes that the camera behind the windshield must be recalibrated after replacement or these features may not function correctly . Even minor chip repairs or slight shifts in glass position can misalign the camera, so technicians should not assume alignment will remain intact .
Failure to calibrate after windscreen replacement can have serious consequences. AAction Auto Glass warns that skipping calibration may cause safety systems to malfunction, trigger false braking or lane departure warnings, and may even void the vehicle’s warranty or expose the workshop to liability claims . Calibration ensures that the camera’s field of view matches the vehicle’s computer model so that objects are detected at the correct distance and angle. For workshops, following a consistent checklist will reduce comebacks and ensure insurers accept the work.
Workshop checklist
- Confirm ADAS features. Use a scan tool or reference manual to identify all ADAS features and sensors affected by the windscreen, including forward-facing cameras, rain sensors and heads-up display units.
- Use OEM-quality glass and parts. Install the correct windscreen with the appropriate mounting bracket and camera window; generic glass may distort the camera’s view or not fit calibration targets.
- Follow proper removal and installation procedures. Keep the camera bracket and mounting hardware intact; avoid bending or twisting the bracket. Clean and prime the mounting area and allow adhesives to cure per manufacturer specifications.
- Perform a pre-scan and document codes. Before removal, record any diagnostic trouble codes and battery voltage. This provides a baseline and helps identify pre-existing faults.
- Calibrate the camera. After installation, perform the required static and/or dynamic calibration using manufacturer-approved targets, scan tools and specified road conditions. Follow the service manual exactly and ensure the vehicle has proper wheel alignment and tyre pressures.
- Post-scan and road test. Clear codes, verify that ADAS warning lights are off and road-test the vehicle to ensure lane departure and automatic braking systems behave correctly.
- Provide documentation. Include calibration reports, pre- and post-scan results and any photographs of the setup. Proper documentation protects the workshop and satisfies insurers and customers.
A thorough windscreen replacement is about more than replacing glass. By following this checklist, technicians ensure that advanced safety features continue to function as intended and avoid costly comebacks or liability. Explain to customers that calibration is part of the job and that skipping it could compromise their safety.

Hiran Alwis is an automotive lecturer and ADAS specialist with over 15 years of experience in diagnostics, advanced safety systems, and technical training. He founded ADAS Project to help everyday drivers and workshop technicians understand and safely use advanced driver assistance systems.